Brass is a stunning material that adds elegance and character to any space. It’s commonly found in items like home décor, antiques, door handles, musical instruments, and jewelry. However, over time, exposure to air and moisture causes brass to tarnish, losing its golden shine and turning dull or even greenish. The good news is that cleaning brass can be simple, and with the right techniques, you can restore its beautiful shine. This guide will walk you through the most effective methods for cleaning brass, from light touch-ups to deep tarnish removal.
How to Identify if Your Brass Is Solid or Plated
Before diving into the cleaning process, it’s crucial to determine whether your item is solid brass or brass-plated. Brass-plated items have a thin layer of brass over another metal, while solid brass items are made entirely of brass. Solid brass can endure more intense cleaning, while brass-plated items require gentler care to prevent damaging the brass layer.
Here’s how to check:
- Magnet Test: Place a magnet on the item. If the magnet sticks, your item is brass-plated because brass is non-magnetic. If the magnet doesn’t stick, you’re likely dealing with solid brass.
Once you know whether your item is solid brass or plated, you can choose the appropriate cleaning method.
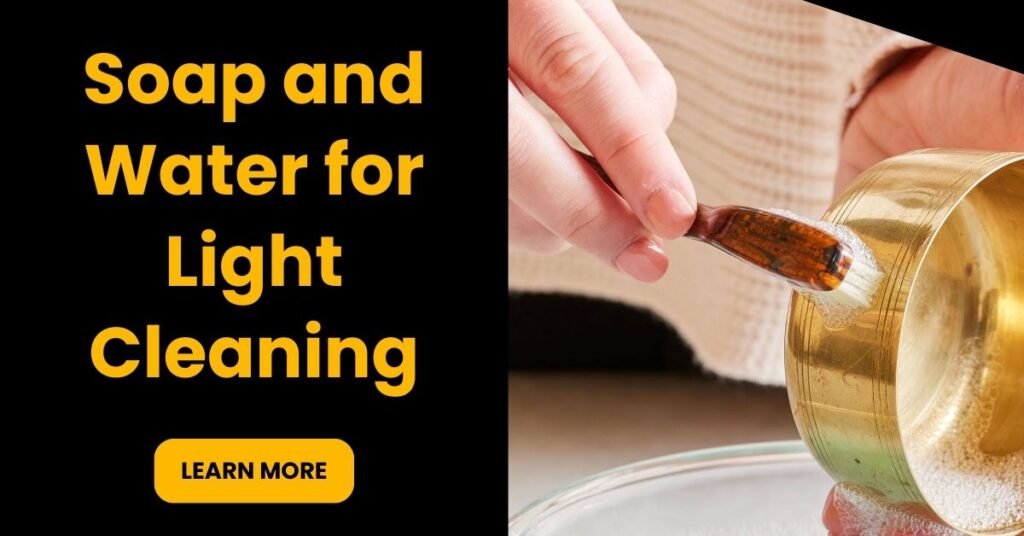
Method 1: Soap and Water for Light Cleaning

For brass that is only slightly dirty or dusty, regular soap and water may be all you need to restore its shine. This method is safe for both solid and brass-plated items.
What You’ll Need:
- Mild dish soap (avoid harsh detergents)
- Warm water
- A soft cloth or sponge
- Towel for drying
Steps:
- Prepare a Soapy Solution: Fill a bowl or basin with warm water and add a few drops of mild dish soap. Stir until it’s well-mixed.
- Wipe the Brass: Dip your soft cloth or sponge into the soapy water and gently wipe the brass surface. Be careful to avoid scrubbing too hard, especially on brass-plated items.
- Rinse with Water: Use clean water to rinse away any soap residue.
- Dry Thoroughly: Immediately dry the brass with a soft towel to prevent water spots or corrosion.
This method works best for items with surface dirt or light tarnish, keeping them polished and bright with minimal effort.
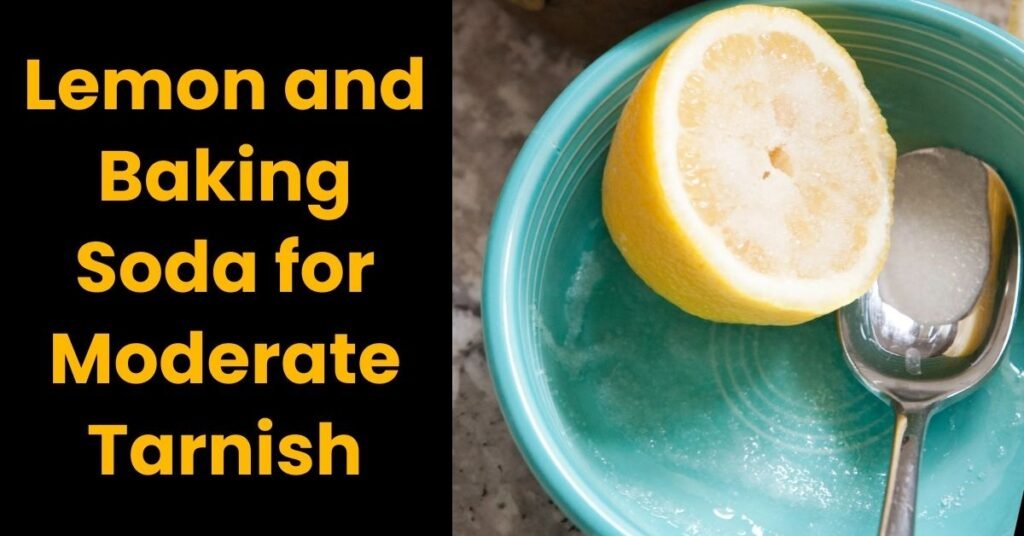
Method 2: Lemon and Baking Soda for Moderate Tarnish

Lemon juice and baking soda form a natural, mild abrasive cleaner that’s excellent for brass that has moderate tarnish. This combination is effective because the acidity of the lemon cuts through tarnish, while the baking soda provides gentle scrubbing power.
What You’ll Need:
- Half a lemon
- Baking soda
- Soft cloth or sponge
- Warm water for rinsing
Steps:
- Prepare the Lemon: Take a lemon and cut it in half. Sprinkle a small amount of baking soda onto the cut side of the lemon.
- Rub the Brass: Gently rub the lemon directly onto the tarnished brass, using circular motions to cover the surface. The lemon’s acidity will dissolve the tarnish while the baking soda provides extra cleaning power.
- Let It Sit: Allow the mixture to sit on the brass for 5-10 minutes to break down the tarnish.
- Rinse and Dry: Rinse the item with warm water to remove any remaining lemon juice and baking soda, then dry thoroughly with a soft cloth.
This method is particularly useful for brass items that have started to dull or show minor tarnishing.
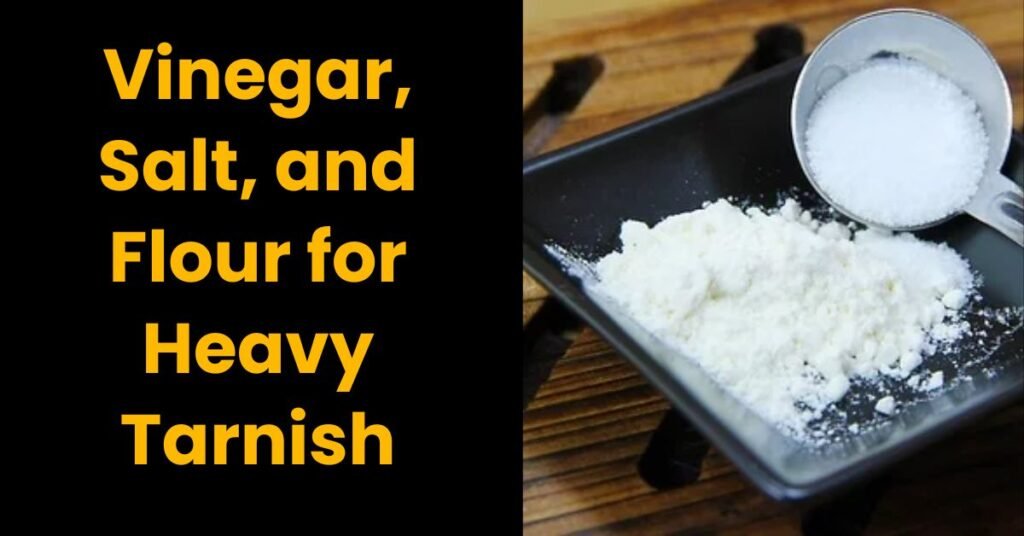
Method 3: Vinegar, Salt, and Flour for Heavy Tarnish

If your brass is heavily tarnished and needs a more intensive cleaning, try a homemade paste using vinegar, salt, and flour. This mixture forms a potent tarnish remover that can restore severely tarnished brass to its original shine.
What You’ll Need:
- 1 tablespoon of salt
- ½ cup of white vinegar (or apple cider vinegar)
- Flour (enough to form a thick paste)
- Soft cloth
- Warm water for rinsing
Steps:
- Mix the Paste: In a small bowl, dissolve the salt in the vinegar. Then, slowly add flour until the mixture forms a thick paste.
- Apply the Paste: Using a soft cloth, apply the paste generously to the brass item. Make sure to cover the tarnished areas thoroughly.
- Let It Sit: Allow the paste to sit on the brass for 15-30 minutes, depending on how tarnished the item is.
- Scrub Gently: After the paste has set, use a soft cloth or sponge to gently scrub the brass in circular motions.
- Rinse and Dry: Rinse the item with warm water to remove all traces of the paste, and dry it completely to prevent water spots or further tarnishing.
This method is ideal for older or heavily tarnished brass pieces that need deep cleaning.
Method 4: Commercial Brass Cleaners for Fast Results

For those who prefer a quick and hassle-free option, commercial brass cleaners are readily available in most stores. These cleaners are specially formulated to remove tarnish quickly and efficiently without damaging the brass.
What You’ll Need:
- Commercial brass cleaner
- Soft cloth or sponge
- Gloves (optional, to protect your hands)
Steps:
- Follow the Instructions: Each brass cleaner will have specific instructions, so be sure to follow them closely. Most cleaners require you to apply the product with a cloth, wait a few minutes, and then buff the item until it shines.
- Buff and Polish: After applying the cleaner, use a soft cloth to buff the brass, bringing back its shine.
While commercial cleaners are convenient, it’s essential to use them in well-ventilated areas and follow all safety guidelines on the packaging.
Tips for Maintaining Your Brass Items
- Regular Cleaning: To keep brass looking its best, clean it regularly before tarnish has a chance to build up. A simple wipe-down with a dry or slightly damp cloth every few weeks can prevent dust and dirt from accumulating.
- Avoid Moisture: Brass is prone to tarnishing when exposed to moisture. After cleaning, always dry the brass completely to prevent water spots or corrosion.
- Apply a Protective Coating: After cleaning brass, you can apply a thin coat of wax (such as car wax or beeswax) or a commercial brass lacquer to protect it from future tarnishing. This is especially helpful for outdoor brass items or frequently handled objects.
- Store Properly: When storing brass items, try to keep them in a dry environment, away from humid conditions that can accelerate tarnishing.
Conclusion: Bring Back the Shine
Brass is a beautiful, timeless material, but it needs regular care to maintain its shine. Whether your brass items are slightly dusty or deeply tarnished, these cleaning methods provide easy, effective solutions for every level of tarnish. By following the steps outlined above, you can keep your brass items looking their best for years to come.
Now that you know how to clean brass the right way, you can enjoy the warm, golden glow that this metal brings to your home and belongings. Happy cleaning!
You May Also Like : Brass Lamp Parts, Brass Electrical Accessories, Brass Reducers Manufacturer, Brass Enlargers Manufacturer, Brass Finials Manufacturer, Precision Brass Components, Brass Hose Fittings, Brass Sanitary Fittings, Brass Automotive Parts, Brass Hydraulic Fittings, Brass Hydraulic Hose Fittings


